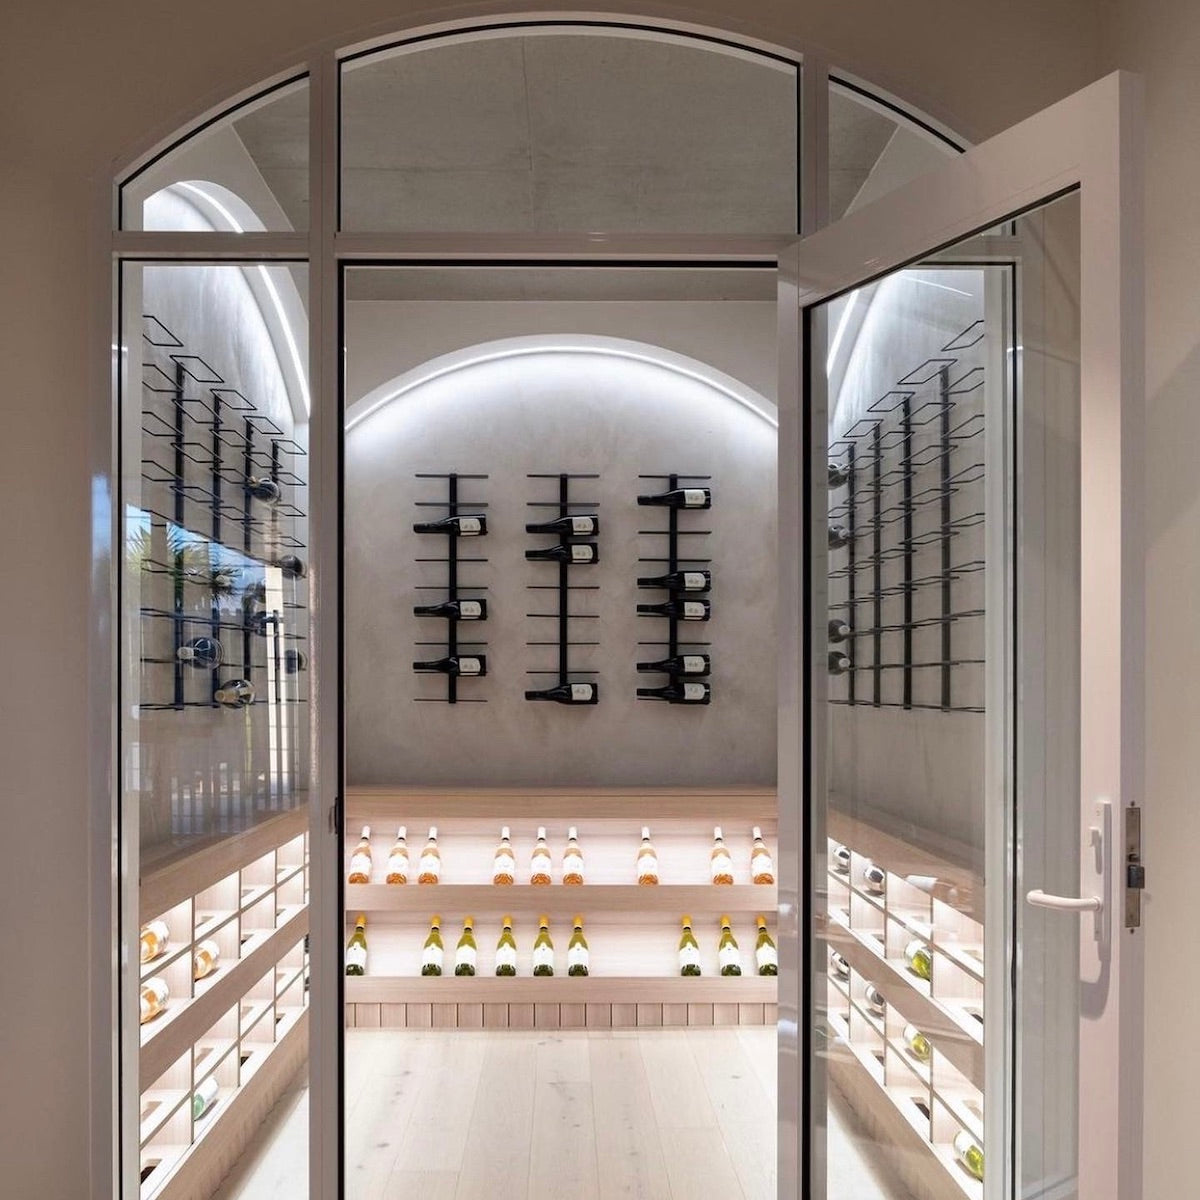
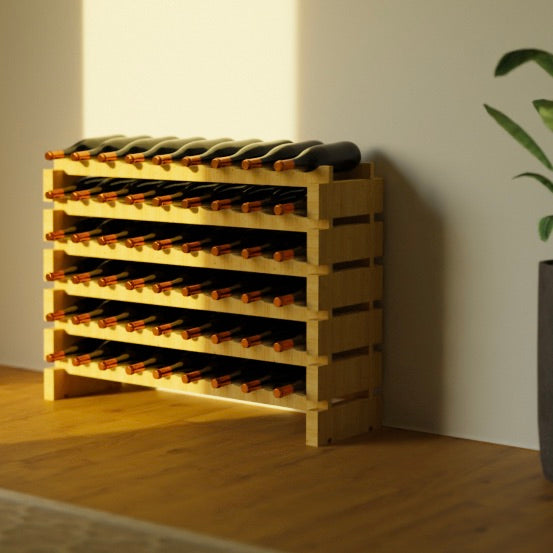
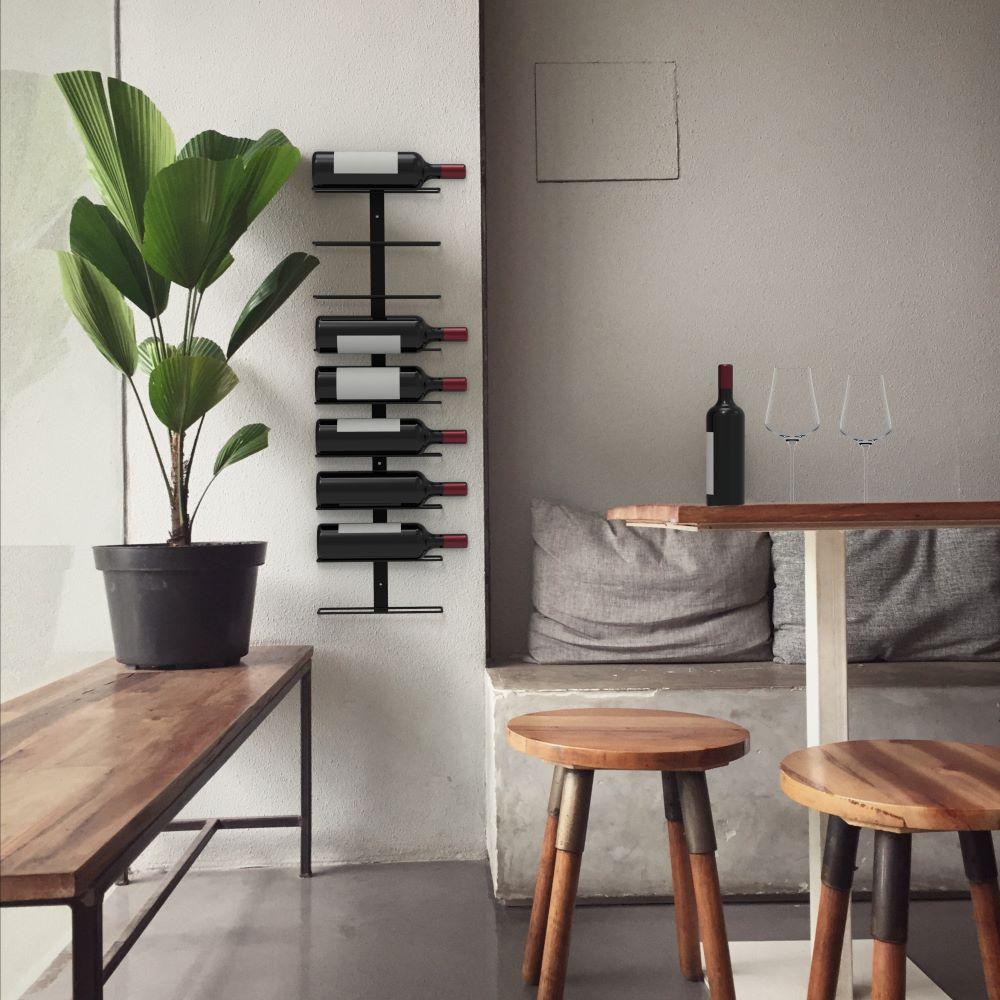
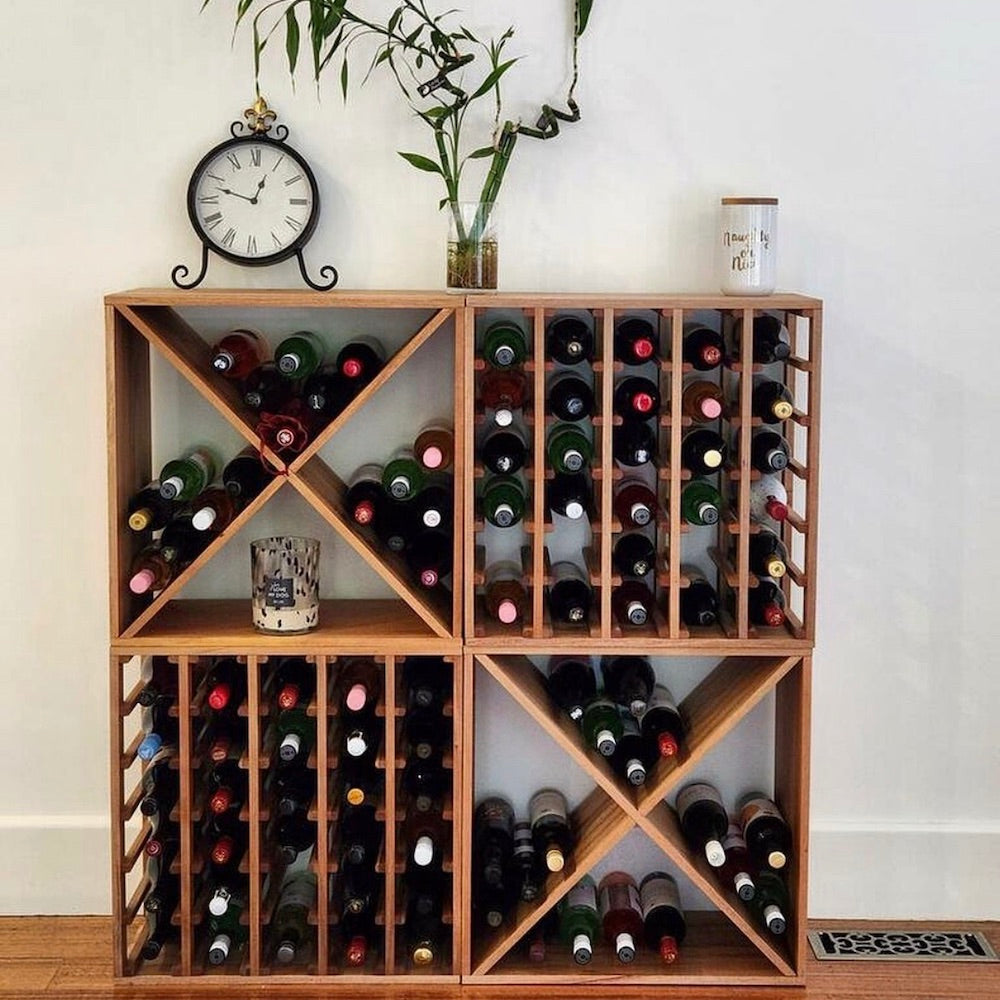
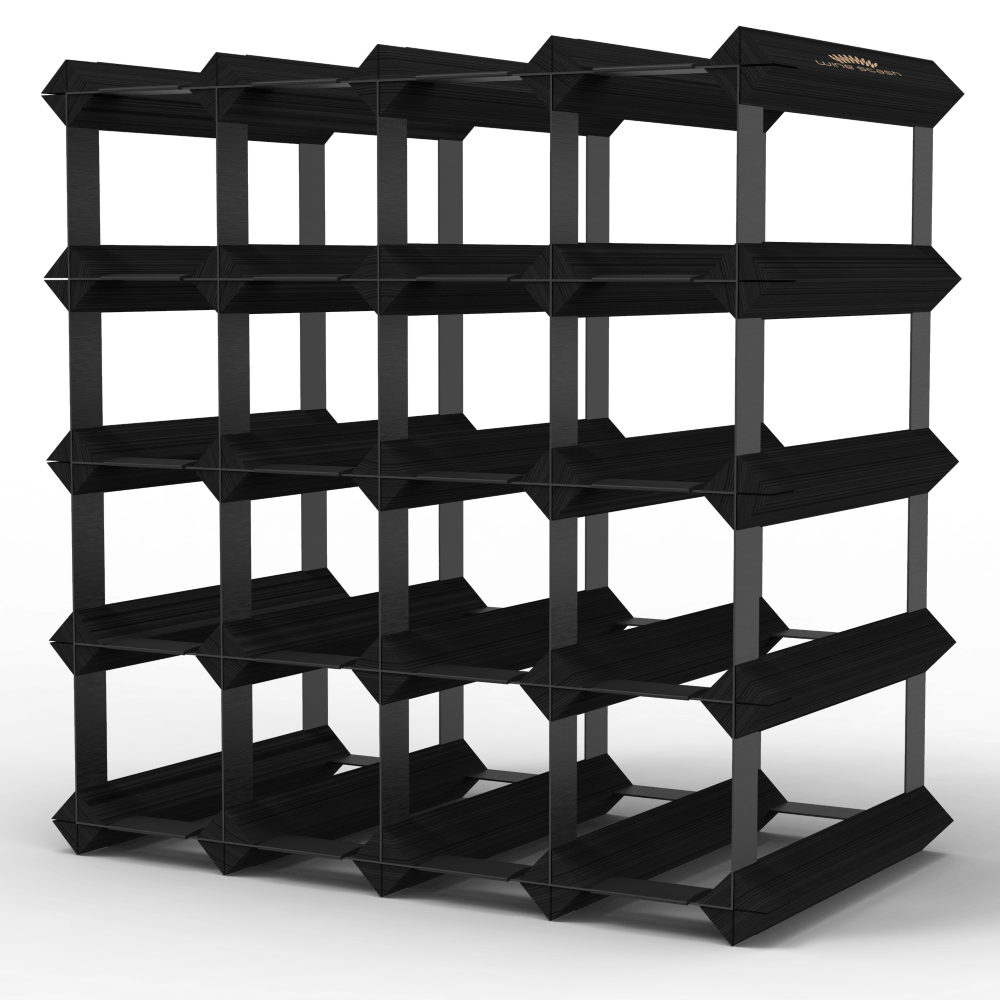
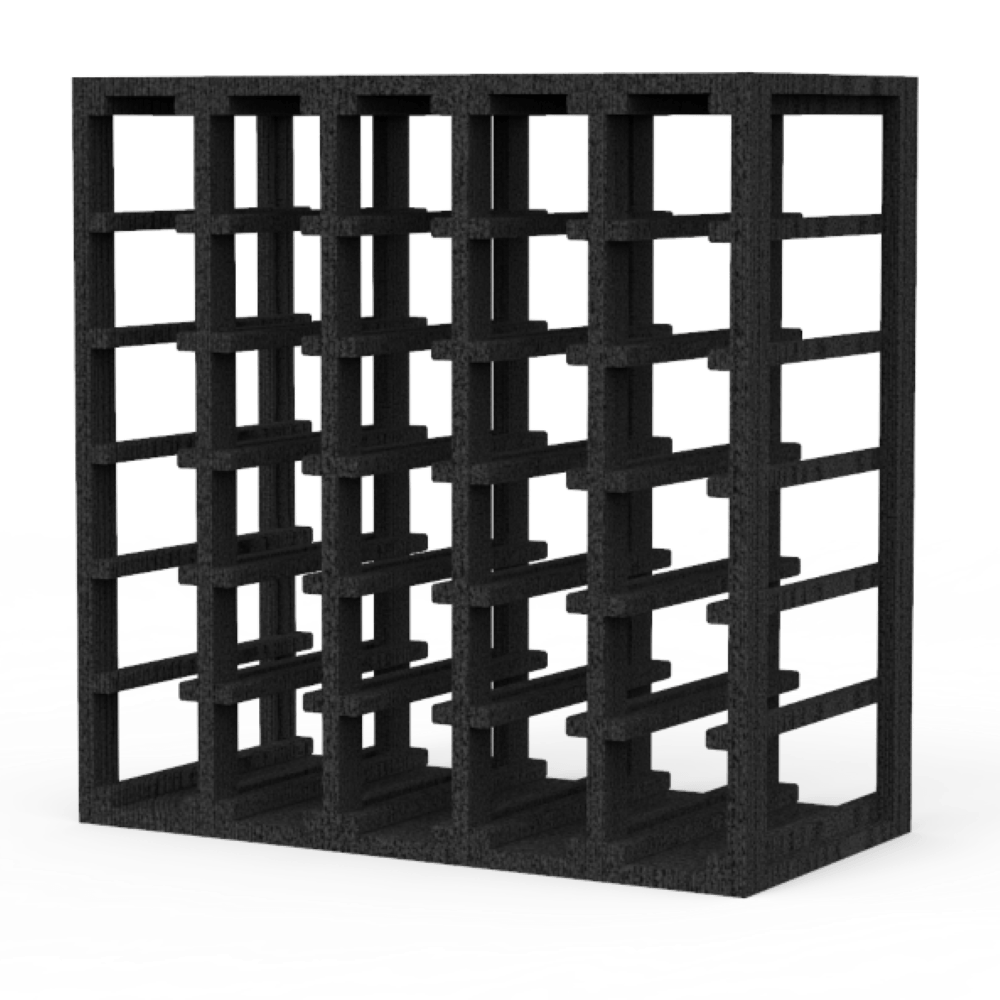
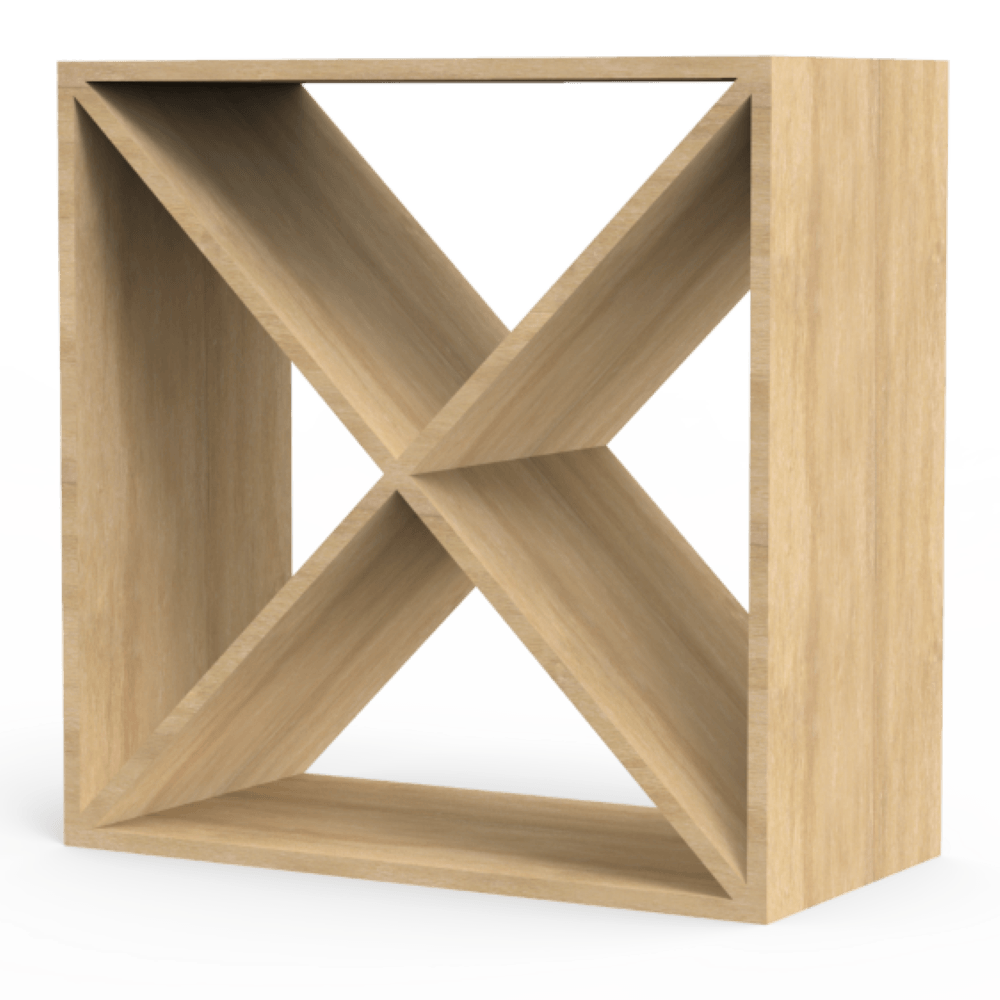
Loading... Please wait...

Enjoy these free wine rack plans courtesy of Wine Rack Guru:
If you are looking for a cost efficient way to store your wine then these are the plans for you. Our free wine rack plans will give you a simple solution to wine storage. In the following we will show you how to construct a wine rack with PVC pipe and little else. Our free wine rack plans offer a do-it-yourself option with easy assembly, low cost, readily available products and little to no tools. Once you have completed the process laid out in our free wine rack plans you will have a fully functional wine rack that holds approximately 99 bottles.
*Materials for the plan listed came to $68.97 = 25% of the cost of a wooden wine rack of equal proportions.
Download the PDF instructions here!
Aesthetic: Give a cleaner look to your wine rack by adding a wood frame or painting the rack itself.
Functionality: Add a little structure to your wine rack by adding 12” x 13” paneling to help secure and store the bottles. Any material with a flat and rigid surface will do. We recommend using a 7/16th OSB Plywood but you may also try materials such as sheetrock or cardboard. This is an opportunity to use what you have around the house and get creative. * Plywood can be found at many locations. Stores such as Home Depot will even cut the boards to your specifications to save you the hassle and make the wood easily transportable.
Additions: If 99 bottles just isn’t enough in your wine rack then you can simply add more tiers. Be sure to purchase the 53 additional pieces needed to complete each tier. We recommend that any wine rack with 4-tiers or more be braced by anchoring to a wall with a ¾ Pipe Bracket which can be found in the Electrical Department of any local hardware store.
Assembly Pieces
*Rack requires 55 feet of ¾” PVC Pipe. We purchased 6 pipes of 10 feet in length.
T’s - 28
Crosses - 24
Elbows - 20
1 ½” Inserts – 56 (cut to size from pipes purchased)
9” Uprights – 24 (cut to size from pipes purchased)
12” Cross Supports – 30 (cut to size from pipes purchased)
Each additional tier requires 6 – T’s, 10 – Crosses, 4 – Elbows, 16 – 1 ½” inserts, 8 – Uprights and 9 – Cross Supports.
Tools for Assembly

Assembly Instructions
Begin by placing a 12” Cross Support into the middle arm of a T. Connect a Cross to the other end of the 12” Cross Support. Repeat this process with another T, Cross Support and Cross. Now connect the pieces you have created by placing a 12” Cross Support into the Crosses. This will act as the middle of your Base.
Place a 1 ½” Insert into the remaining arms of the Crosses and T’s. Now connect a T into the other end of each 1 ½” Cross Support. Push together each piece firmly so that the 1 ½” inserts are not visible. Be sure that the middle arm of each T is facing upward. This is where you connect the next Tier.
Using 1 ½” Inserts, connect Elbows to the 4 corners of your Base. On the remaining middle T’s connect 4 additional T’s with 1 ½” inserts. Be sure that the T’s lay flat to the ground. Connect the outside of your Base with 12” Cross Supports between the T’s and Elbows.
Place 9” Uprights into the 8 upward facing spouts of the T’s on your Base. You should now have a Base that looks like this:


Create a Middle Tier by following Step 4, only making sure to substitute upward facing crosses in place of any upward facing T’s.
Your Middle Tier requires (6) T’s, (10) Crosses, (4) Elbows, (9) 12” Cross Supports, (16) 1 ½” Inserts and (8) 9” Uprights.
Attach your Middle Tier and Base together by connecting the 9” Uprights of the Base with the bottom of the Crosses in the Middle Tier.

Follow the Instructions in Steps 5 and 6 to complete your next Tier.

Connect the bottom spout of a T to a spout of a Cross using a 12” Cross Support. Repeat this process. Connect your pieces by inserting a 12” Cross Support between the 2 Crosses. Connect an Elbow to the remaining open spouts using 1 ½” inserts. Be sure that the Elbow spouts are facing downward.

Attach the Top of your Rack by connecting the Elbows to the 9” Uprights of the Upper Tier.

Place 12” x 13” Panel Inserts into the 3 spaces of each tier.

